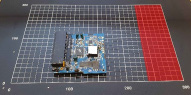
1. Place the DUT on the scanner table. Keep in mind that there is an area to the right where the laser cannot reach due to its position on the side of the probe.
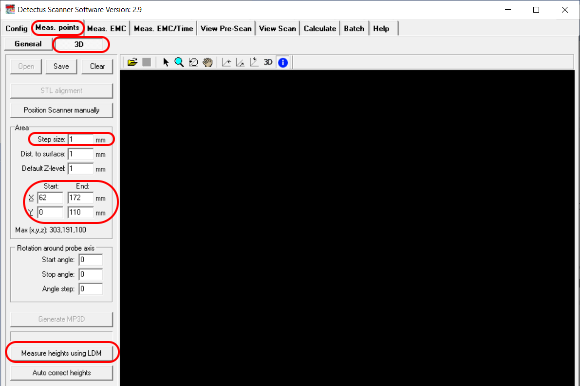
2. Go to Meas. Points tab – 3D.
3. Enter the coordinates for an area that covers the DUT.
4. Enter the step size.
5. Click the button “Measure heights using LDM”.
6. Enter a filename for the 3D model in the “Save As” dialog that opens.
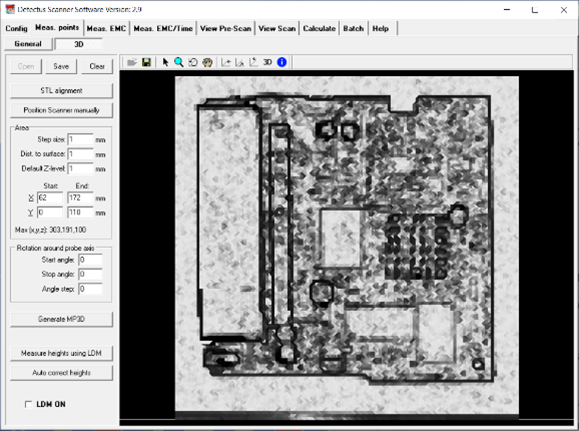
7. The scanning will begin.
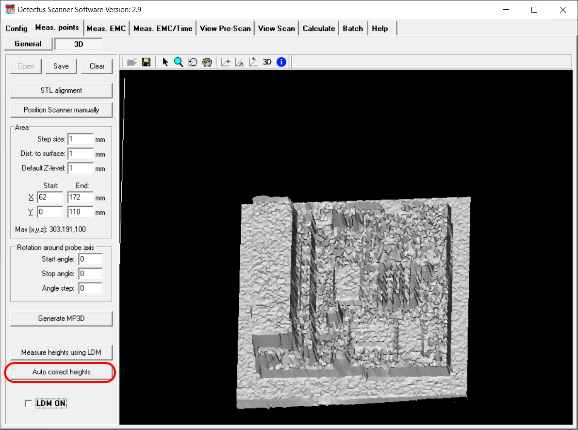
8. When the scanning is done you can load the 3D model and it probably looks fairly good from the top view.
9. However, depending on the shape of the DUT and if the laser dot was blocked from the view of the camera, there may be some points where we have no good reading. If so, those points will show as unreasonably heigh spikes.
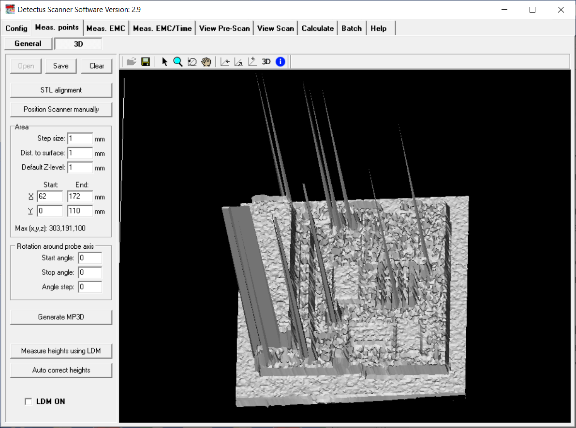
10. The feature “Auto correct heights” will find the points with bad readings and try to correct them by approximation from the surronding points.
11. Clicking “Auto correct heights” will open a “Save As” dialog and it is recommended to choose a different name and not overwrite the original 3D model just in case…