This chapter will guide you, step by step, through a simple Heat-Scan measurement step by step.

1. Start the software by clicking on the icon on your desktop.
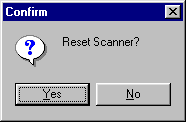
2. After a few seconds this dialog box will show.
3. Click on Yes to reset the Scanner to its starting position at coordinates X0 Y0 Z10.
4. Position and calibrate the IR-probe according to the procedure in “Positional calibration of the IR-probe against Scanner”.
5. Click on the Meas. points tab.
6. Click on the General button to select 2.5 dimensional measuring points. It is also possible to generate full 3D measuring points. See “How to generate 3D measuring points” for a detailed description.
7. In the Grid / Point list box, select Grid.
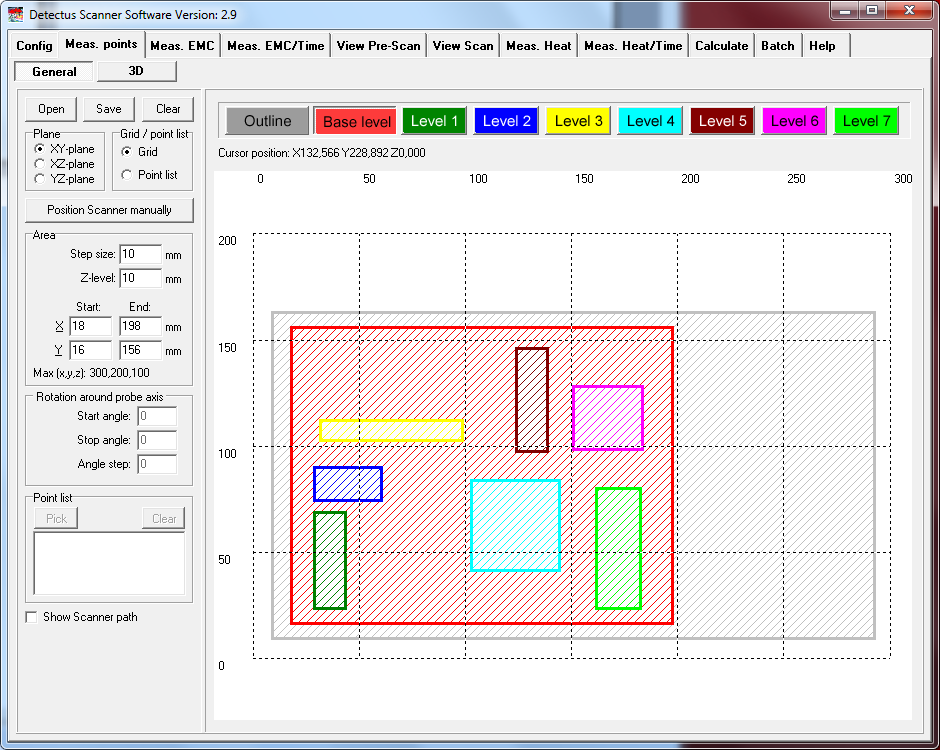
8. Enter a suitable step size into the Step size box.
A small step size will generate a high-resolution measurement and a large step size will generate a low-resolution measurement.
Measuring in large steps is quicker than measuring in small steps.
9. Select the desired measuring plane by clicking on XY plane, XZ plane or YZ plane.
10. Click on the Outline button.
Define the outline of the test object by entering values into the Area box. You may also click and draw the outline. Drawing the outline is optional, but you will find it useful when you want to repeat a measurement.
11. Click on the Base level button.
Define the measuring area by entering values into the Area box. You may also click and draw the area.
12. Enter the value of Z-level into the Area box.
Z- level is the height of the probe above the Scanner table during measurement.
13. You may define “islands” with different Z-levels than the Base level, by clicking on the Level 1 … Level 4 buttons. This is useful e.g. to make the probe skip over high components on a PCB.
14. The measuring points can be saved (as .MP files) for later use by clicking on the Save button.
15. Click on the Meas. Heat tab.
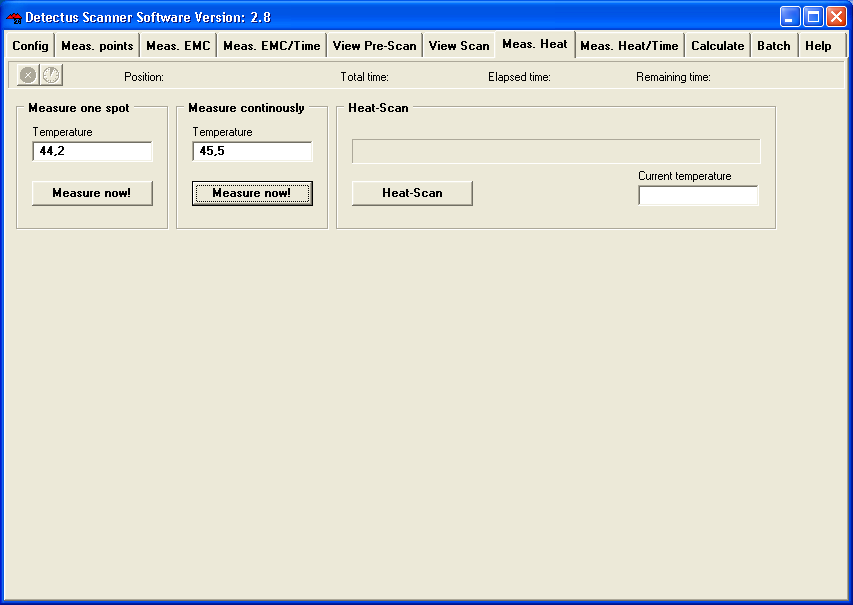
16. Click on the Heat-Scan button to start the measurement.
17. Before the measurement is started, you will have to enter the location to save the result file.
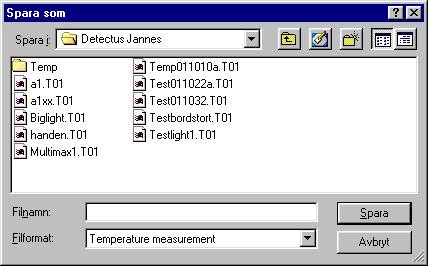
18. Enter the desired file name.
You do not have to enter the file extension because the file will automatically be named .T01. The measuring results stored in these files can be visualized on the View Scan tab.
19. Click on the View Scan tab.

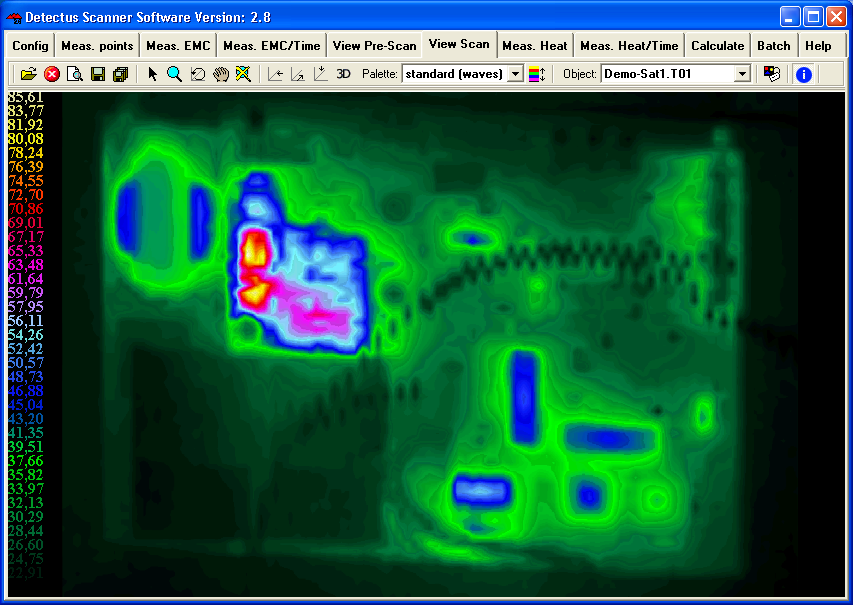
20. There are many ways to visualize the result of a Heat-Scan measurement by utilizing the features on the View Scan tab. For detailed information, please refer to page 131.
21. The result of a Heat-Scan measurement can be documented as a report in HTML format and printed out.
